Blog Layout

Getting Rid of Mold on Drywall

August 14, 2023

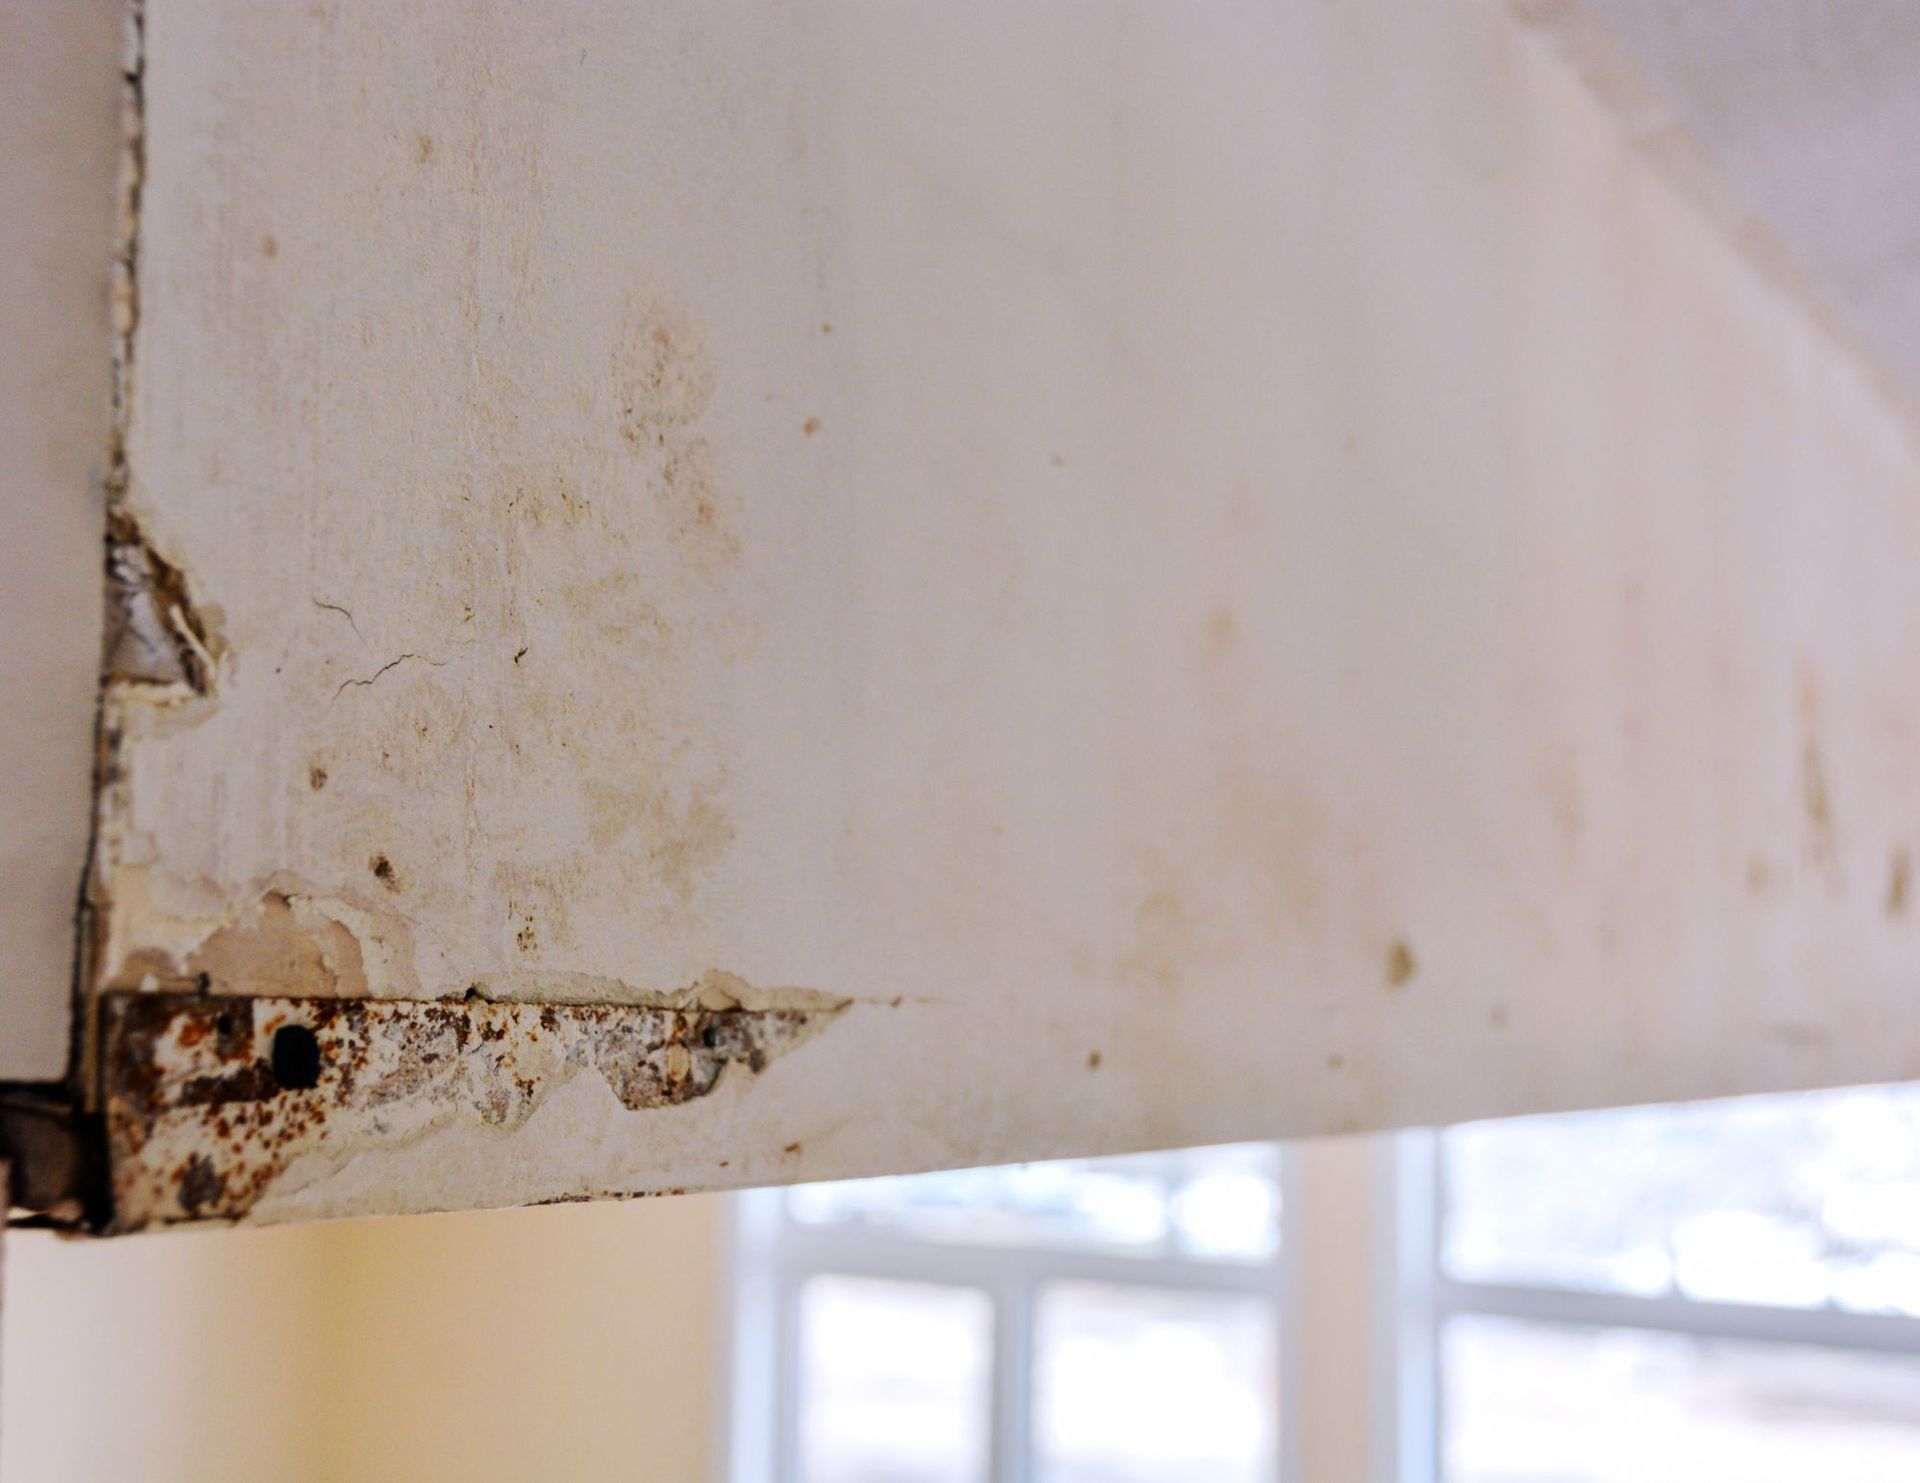
Mold Be Gone: How to Get Rid Of Mold On Drywall


Dealing with mold on drywall is like having an uninvited guest crash your home – it's unsightly, unwelcome, and needs to be shown the door ASAP. But fear not, because we're diving into the world of mold removal on drywall, equipping you with the knowledge to banish that mold and restore your space to its former glory.


Identify the Culprit


Before you can defeat the enemy, you need to know what you're up against. Mold thrives in damp and humid environments, so identifying the source of moisture is your first step. Leaky roofs, plumbing issues, and poor ventilation can all contribute to mold growth. Once you've identified and fixed the source, you're ready to start the battle.


Gather Your Weapons


No, we're not talking about swords and shields, but rather the tools and materials needed for mold removal:


1. Protective Gear: Safety first! Wear gloves, goggles, and a mask to shield yourself from mold spores.


2. Soap and Water: Start with a basic cleaning solution of soap and water to scrub off visible mold.


3. Baking Soda Solution: Mix baking soda with water to create a paste that helps remove mold stains.


4. Hydrogen Peroxide Solution: Mix hydrogen peroxide with water (1:1 ratio) for a more potent mold-fighting solution.


5. Bleach Solution: If you're dealing with a persistent mold problem, a diluted bleach solution (1 part bleach to 10 parts water) can be effective. However, use bleach with caution and proper ventilation.


6. Scrubbing Brush: A stiff-bristle brush helps you scrub away mold from the surface.


Scrub Away the Mold


Now that you're armed and ready, it's time to roll up your sleeves and get to work:


1. Prepare the Area: Open windows for ventilation and cover nearby surfaces to protect them from cleaning solutions.


2. Start with Soap and Water: Use soap and water to scrub off visible mold. For stubborn spots, move on to the baking soda solution.


3. Apply Baking Soda Paste: Apply the baking soda paste to mold-stained areas and scrub gently. Let it sit for a few minutes before scrubbing again.


4. Hydrogen Peroxide Solution: If the mold persists, apply the hydrogen peroxide solution using a spray bottle. Let it sit for 10 minutes before scrubbing.


5. Rinse and Dry: After scrubbing, rinse the area with clean water and dry it thoroughly. Remember, moisture is mold's best friend, so drying is key.


6. Bleach Solution (if necessary): If the mold persists, you can try the diluted bleach solution. However, use this sparingly and be mindful of ventilation.


Prevent Future Invaders


Congratulations, you've reclaimed your drywall from the clutches of mold! But to ensure this unwelcome guest doesn't return, consider these preventive measures:


1. Improve Ventilation: Ensure proper ventilation in areas prone to moisture, like bathrooms and kitchens.


2. Control Humidity: Use dehumidifiers to maintain a healthy indoor humidity level (between 30% and 50%).


3. Fix Leaks: Promptly address any leaks or water damage to prevent mold growth.


4. Seal Gaps: Seal gaps around windows, doors, and pipes to prevent moisture infiltration.


5. Regular Cleaning: Keep your space clean and dry to discourage mold from making a comeback.


In Conclusion: Mold-Free Victory


Mold on drywall might seem like a formidable foe, but armed with the right tools, knowledge, and determination, you can conquer it and restore your space to its former mold-free glory. Remember, swift action and preventive measures are your allies in the battle against mold, ensuring that your home remains a safe and healthy haven for years to come.


If you're looking for professional Ottawa drywall contractors, give us a call and get a free quote.


You might also like

December 5, 2023
Drywall anchors, while essential for securely mounting objects, can become a nuisance when they need removal. Whether you're redesigning your space or altering wall fixtures, understanding how to remove drywall anchors efficiently without causing damage is crucial. In this comprehensive guide, we'll delve into several tried-and-tested methods to help you successfully remove drywall anchors with ease.  Gather the Necessary Tools Before you begin, assemble the following tools: Pliers: Needle-nose or regular pliers will be useful for most removal methods. Screwdriver or Drill: Depending on the type of anchor, you may need a screwdriver or drill. Utility Knife: Helpful for cutting and exposing certain types of anchors. Putty Knife: Used to patch holes after anchor removal. Different Methods for Removing Drywall Anchors 1. Screw Removal Method: For Plastic Ribbed Anchors: Loosen the Screw: If the anchor has a visible screw head, use a screwdriver to unscrew it until it's flush with the anchor. Grip and Pull: Using pliers, grip the screw head and gently pull it out. The anchor should slide out with the screw. For Winged Plastic Anchors: Remove the Screw: Unscrew the fastener until it's flush with the wall. Pull Out the Anchor: Use pliers to grip and carefully wiggle the wings of the anchor while pulling outward. Apply gradual pressure to avoid damaging the drywall. 2. Toggle Bolt Removal: Unscrewing Method: Toggle bolts often have a screw visible on the front. Unscrew it completely until the toggle falls behind the wall. Then, remove the bolt and pull the toggle out gently using pliers. 3. Push or Hammer-In Anchors: Prying Method: Use a putty knife or flathead screwdriver to gently pry the anchor away from the wall. Apply steady pressure to prevent damage. 4. Expansion Anchors: Drilling Method: If the anchor doesn’t have a visible screw, carefully drill into the center of the anchor using a drill with a bit slightly smaller than the anchor size. Drill until the head breaks off, allowing the anchor to fall into the wall cavity. Tips for Removing Drywall Anchors Safely Apply Gradual Pressure: Avoid using excessive force as it might damage the drywall. Repair Holes: After removing the anchor, patch the hole with spackling compound using a putty knife and sand it down for a smooth finish. Identify Anchor Type: Different types of anchors require different removal methods. Assess the anchor type before attempting removal. Protective Gear: Use safety goggles to protect your eyes from debris during the removal process. Situational Considerations Large Anchor Removal: For larger or stubborn anchors, consider using a crowbar or claw hammer to gently pry them out. Exercise caution to avoid damaging the wall. Multiple Anchors in Close Proximity: If you're dealing with several anchors close together, take care to avoid damaging the surrounding drywall while removing them. Conclusion Removing drywall anchors doesn’t have to be a daunting task. By employing the appropriate tools and techniques, you can effectively remove anchors without causing unnecessary damage to your walls. Understanding the type of anchor you're dealing with and utilizing the suitable removal method are key to successful extraction. Remember to work patiently and gradually, applying just enough force to remove the anchor without harming the drywall. Once the anchors are removed, patching the holes properly ensures a seamless finish, ready for a fresh coat of paint or new wall fixtures. By following these step-by-step removal methods and considering the situational tips provided, you can confidently tackle the task of removing drywall anchors, allowing you to modify or redesign your space hassle-free. If you're looking for an expert Ottawa drywall contractor, give us a call today for a free quote.
December 5, 2023
This is a subtitle for your new post
December 5, 2023
Looking to do your own drywall work? Here's how to cut drywall properly
More Posts

Book a Service Today

Share by: