613-209-2825
How To Install Drywall Anchors
Your Guide to Installing Drywall Anchors
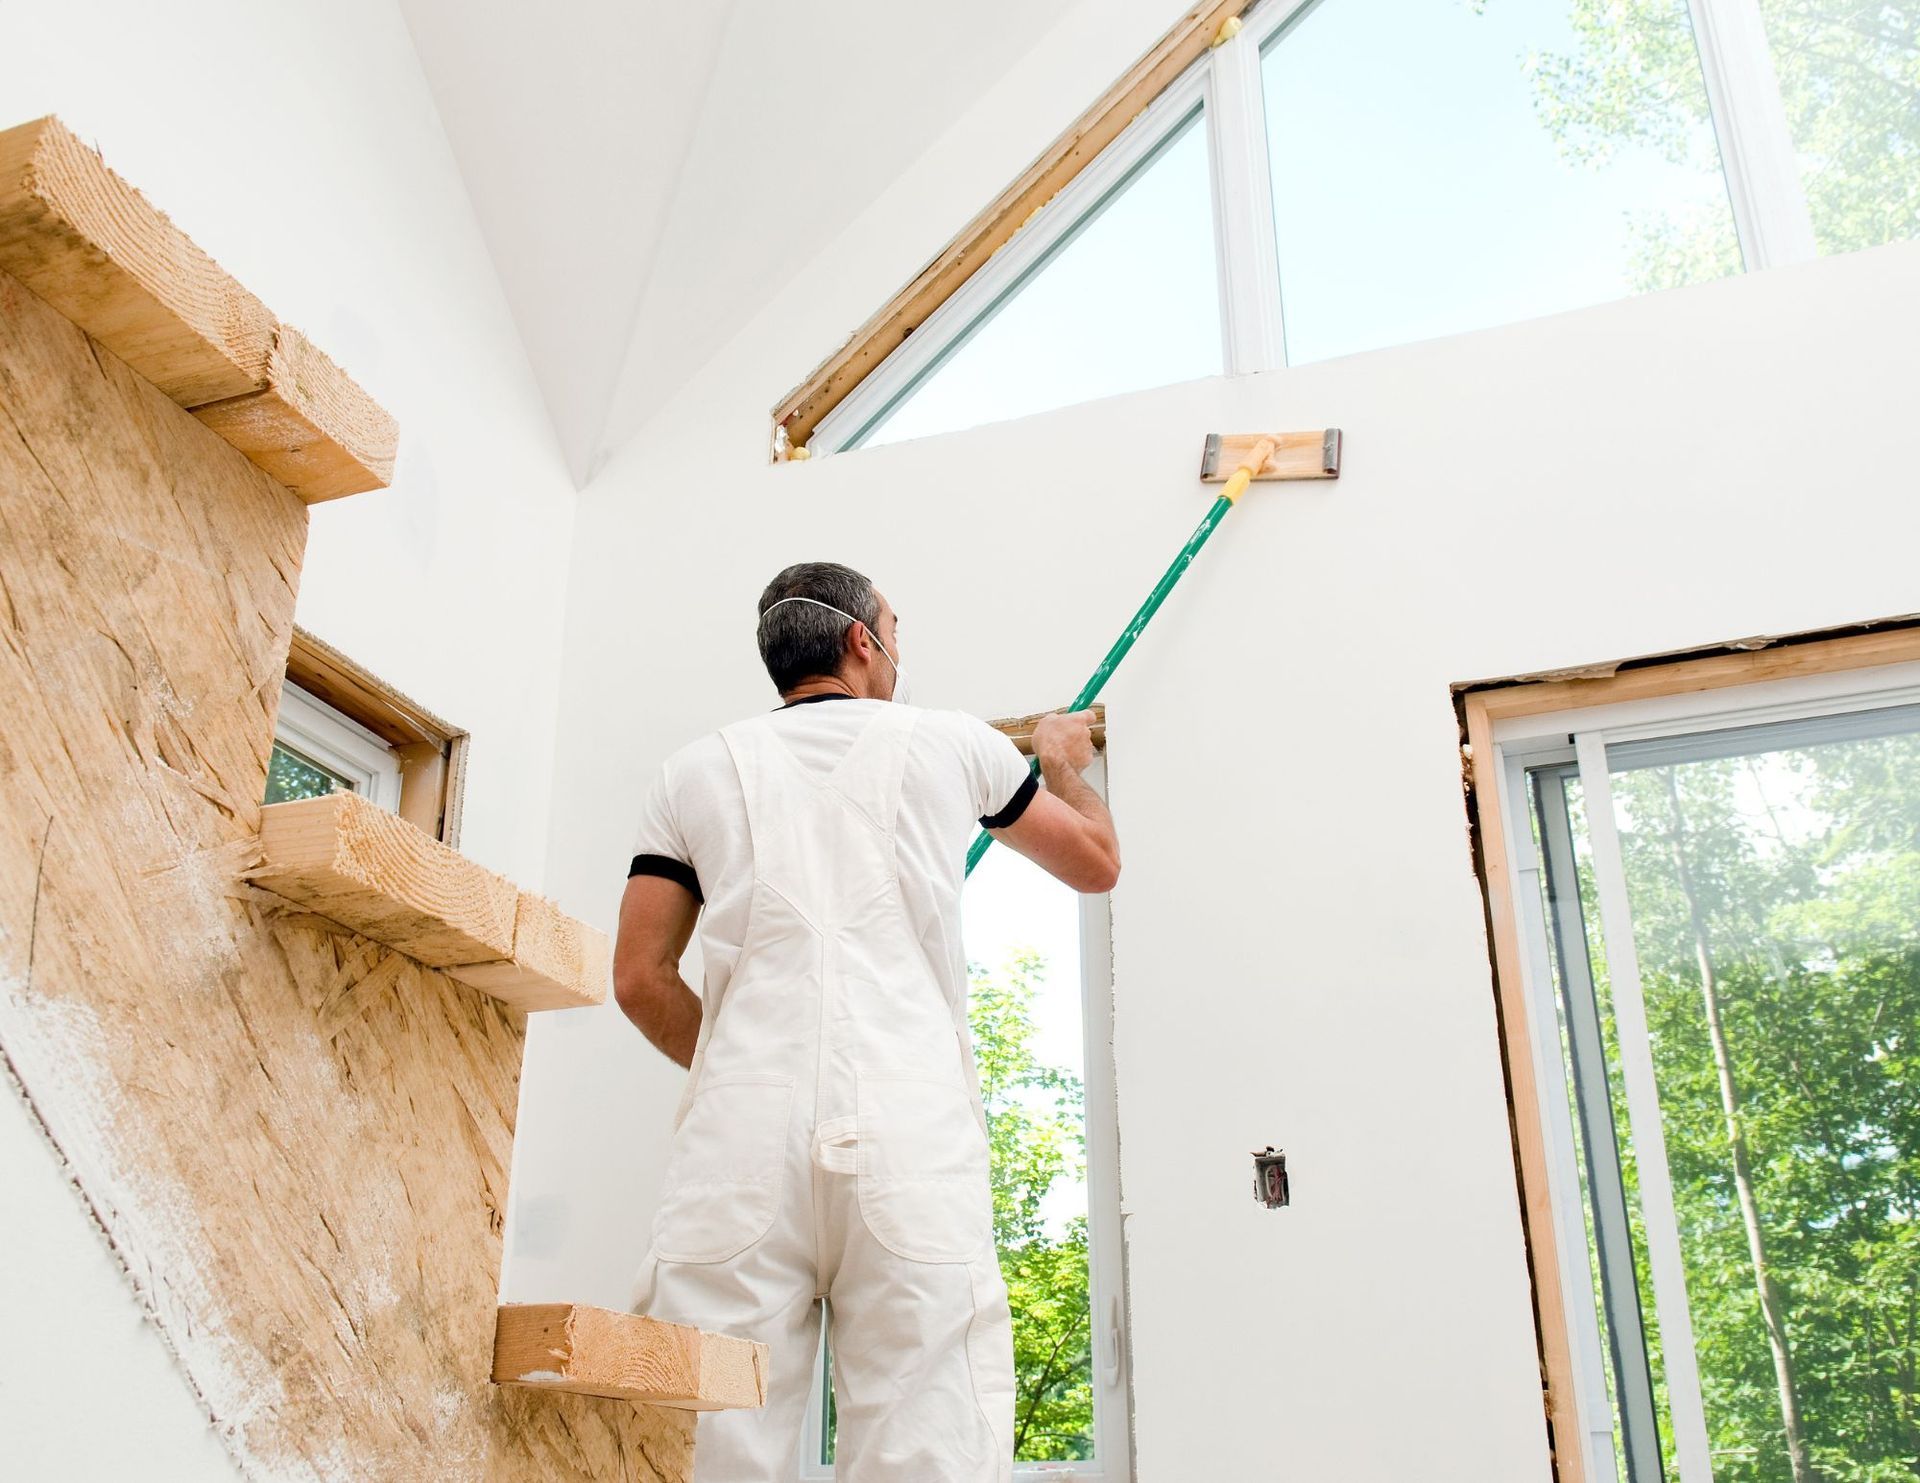
Whether you're a DIY enthusiast or just looking to hang up some decor, mastering the art of installing drywall anchors is a skill worth having in your toolkit. These tiny heroes ensure your shelves, artwork, and even TVs stay securely in place, preventing them from taking an unexpected dive. Let's dive into the world of drywall anchors and discover how to install them like a seasoned pro.
Step 1: Gather Your Arsenal
Before you embark on your anchor installation journey, make sure you have the following tools and materials at the ready:
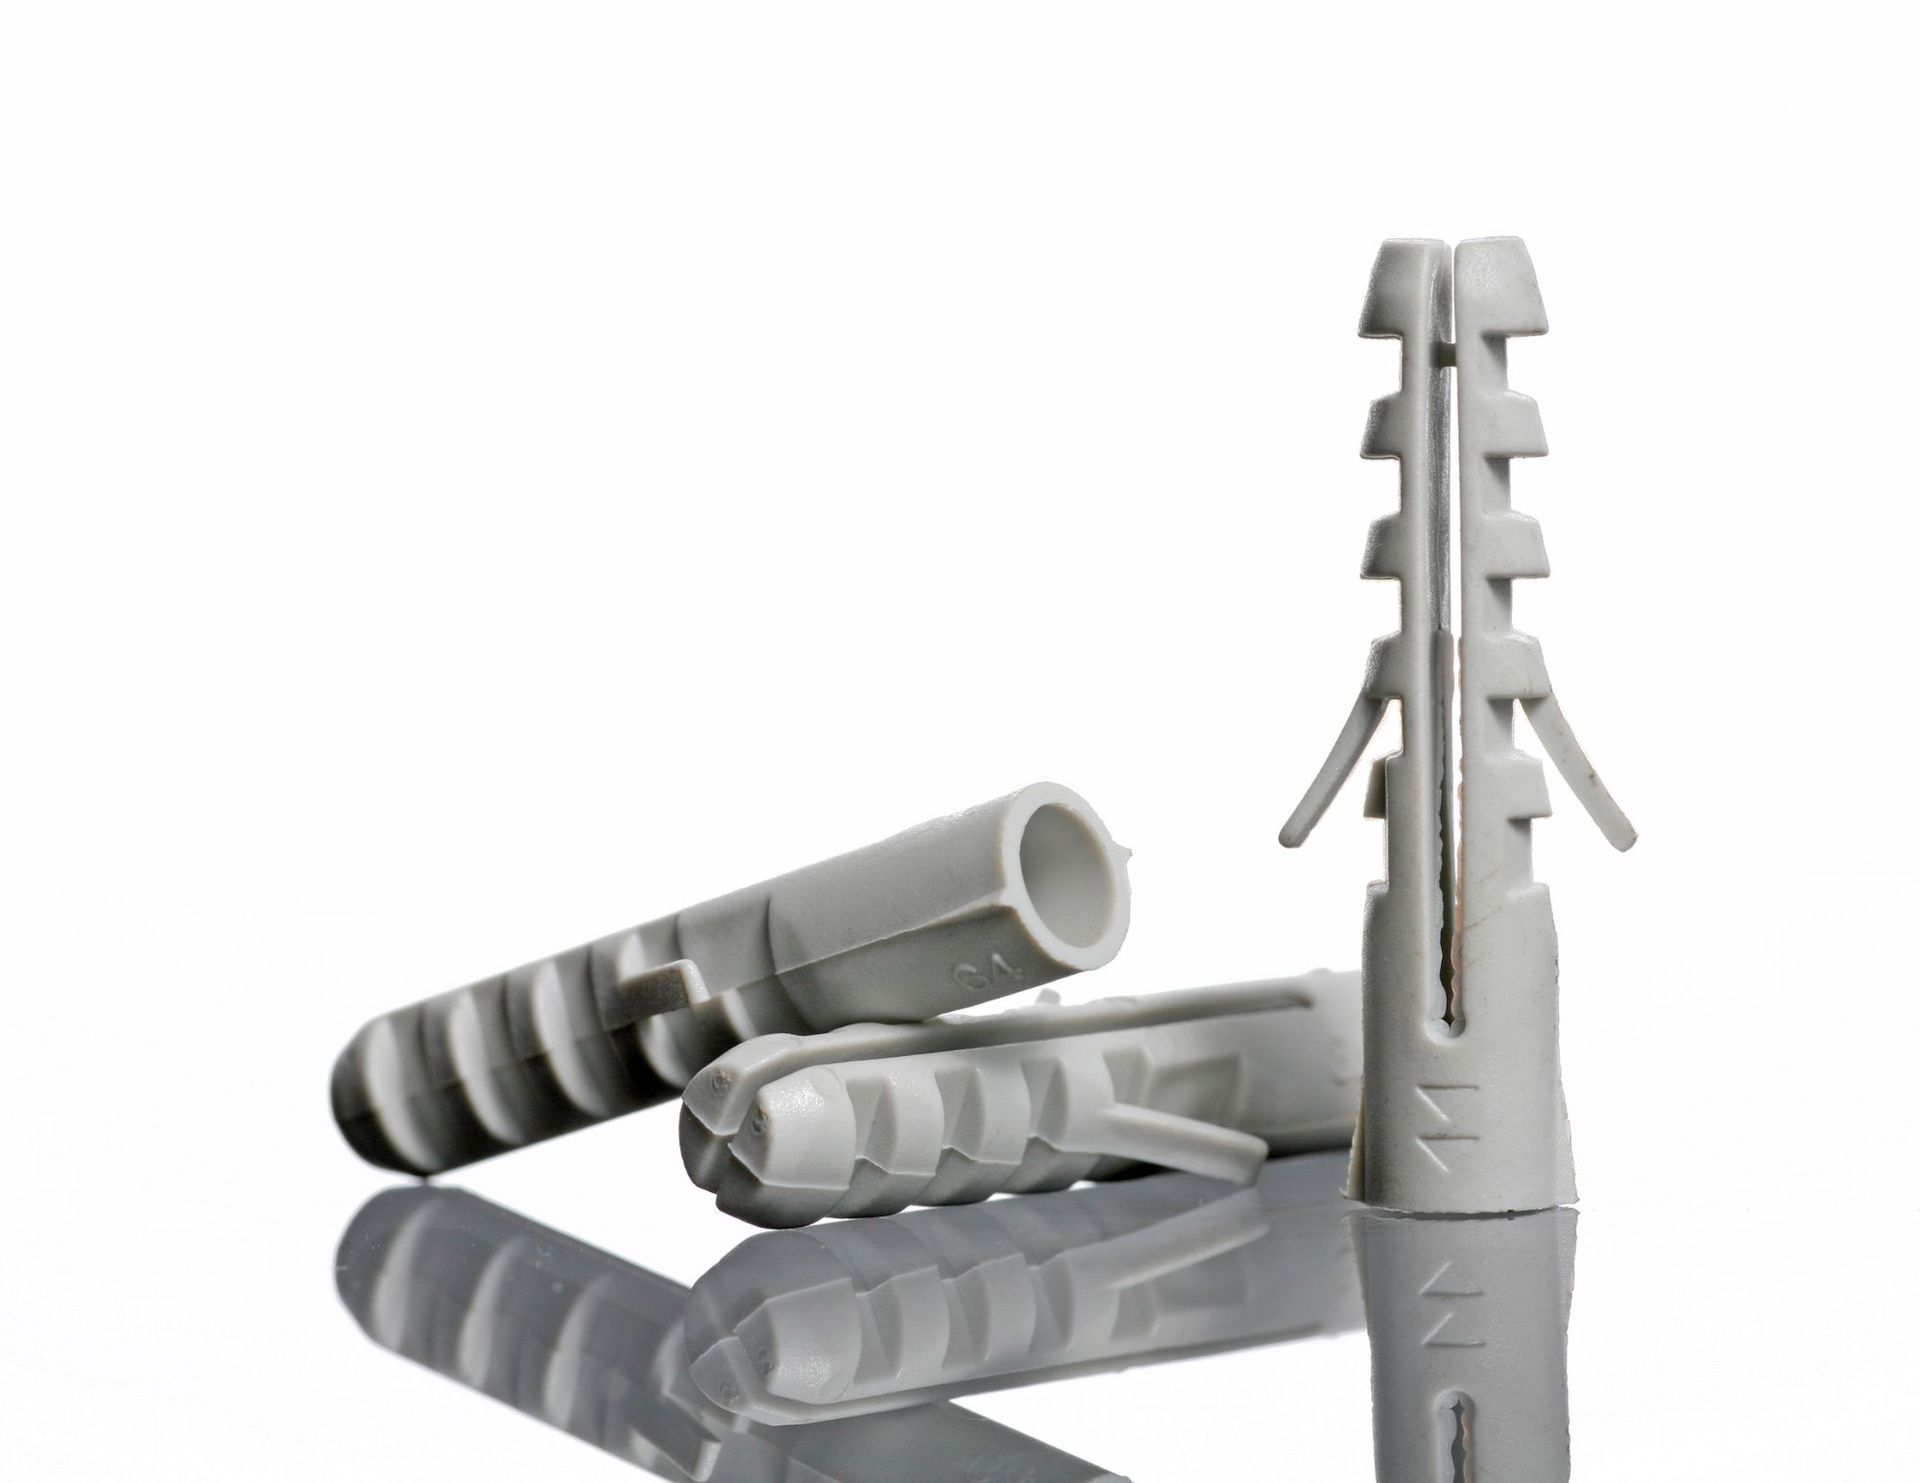
1. Drywall Anchors: Choose the appropriate type of anchor for your task. There are various types, including expansion anchors, toggle bolts, and plastic anchors, each designed for different weights and applications.
2. Screwdriver or Drill: Depending on the type of anchor you're using, you'll need either a screwdriver or a drill.
3. Drill Bit: If your anchor requires a pilot hole, ensure you have the correct drill bit size. The packaging of your anchors usually specifies the appropriate size.
4. Hammer: A light tap from a hammer can help insert certain types of anchors.
5. Pencil and Level: Mark the spot where you want to install the anchor using a pencil, and use a level to ensure your anchor is straight.
Step 2: Choose the Right Anchor
Selecting the right anchor is like choosing the right tool for the job. Consider the weight of the object you're hanging and the type of wall you're working with. For heavier items, go for sturdier anchors, and for different wall materials, opt for anchors that work best.
Step 3: Measure and Mark
Once you've chosen your anchor, it's time to mark the spot where you'll install it. Use a pencil to mark the exact location on the wall. If you're hanging multiple items, use a level to ensure they're aligned perfectly.
Step 4: Drill Pilot Holes (if needed)
For some anchors, especially those with expansion mechanisms, you'll need to create pilot holes. Refer to the anchor's instructions for the appropriate drill bit size. Gently drill the pilot hole, taking care not to push too hard or damage the drywall.
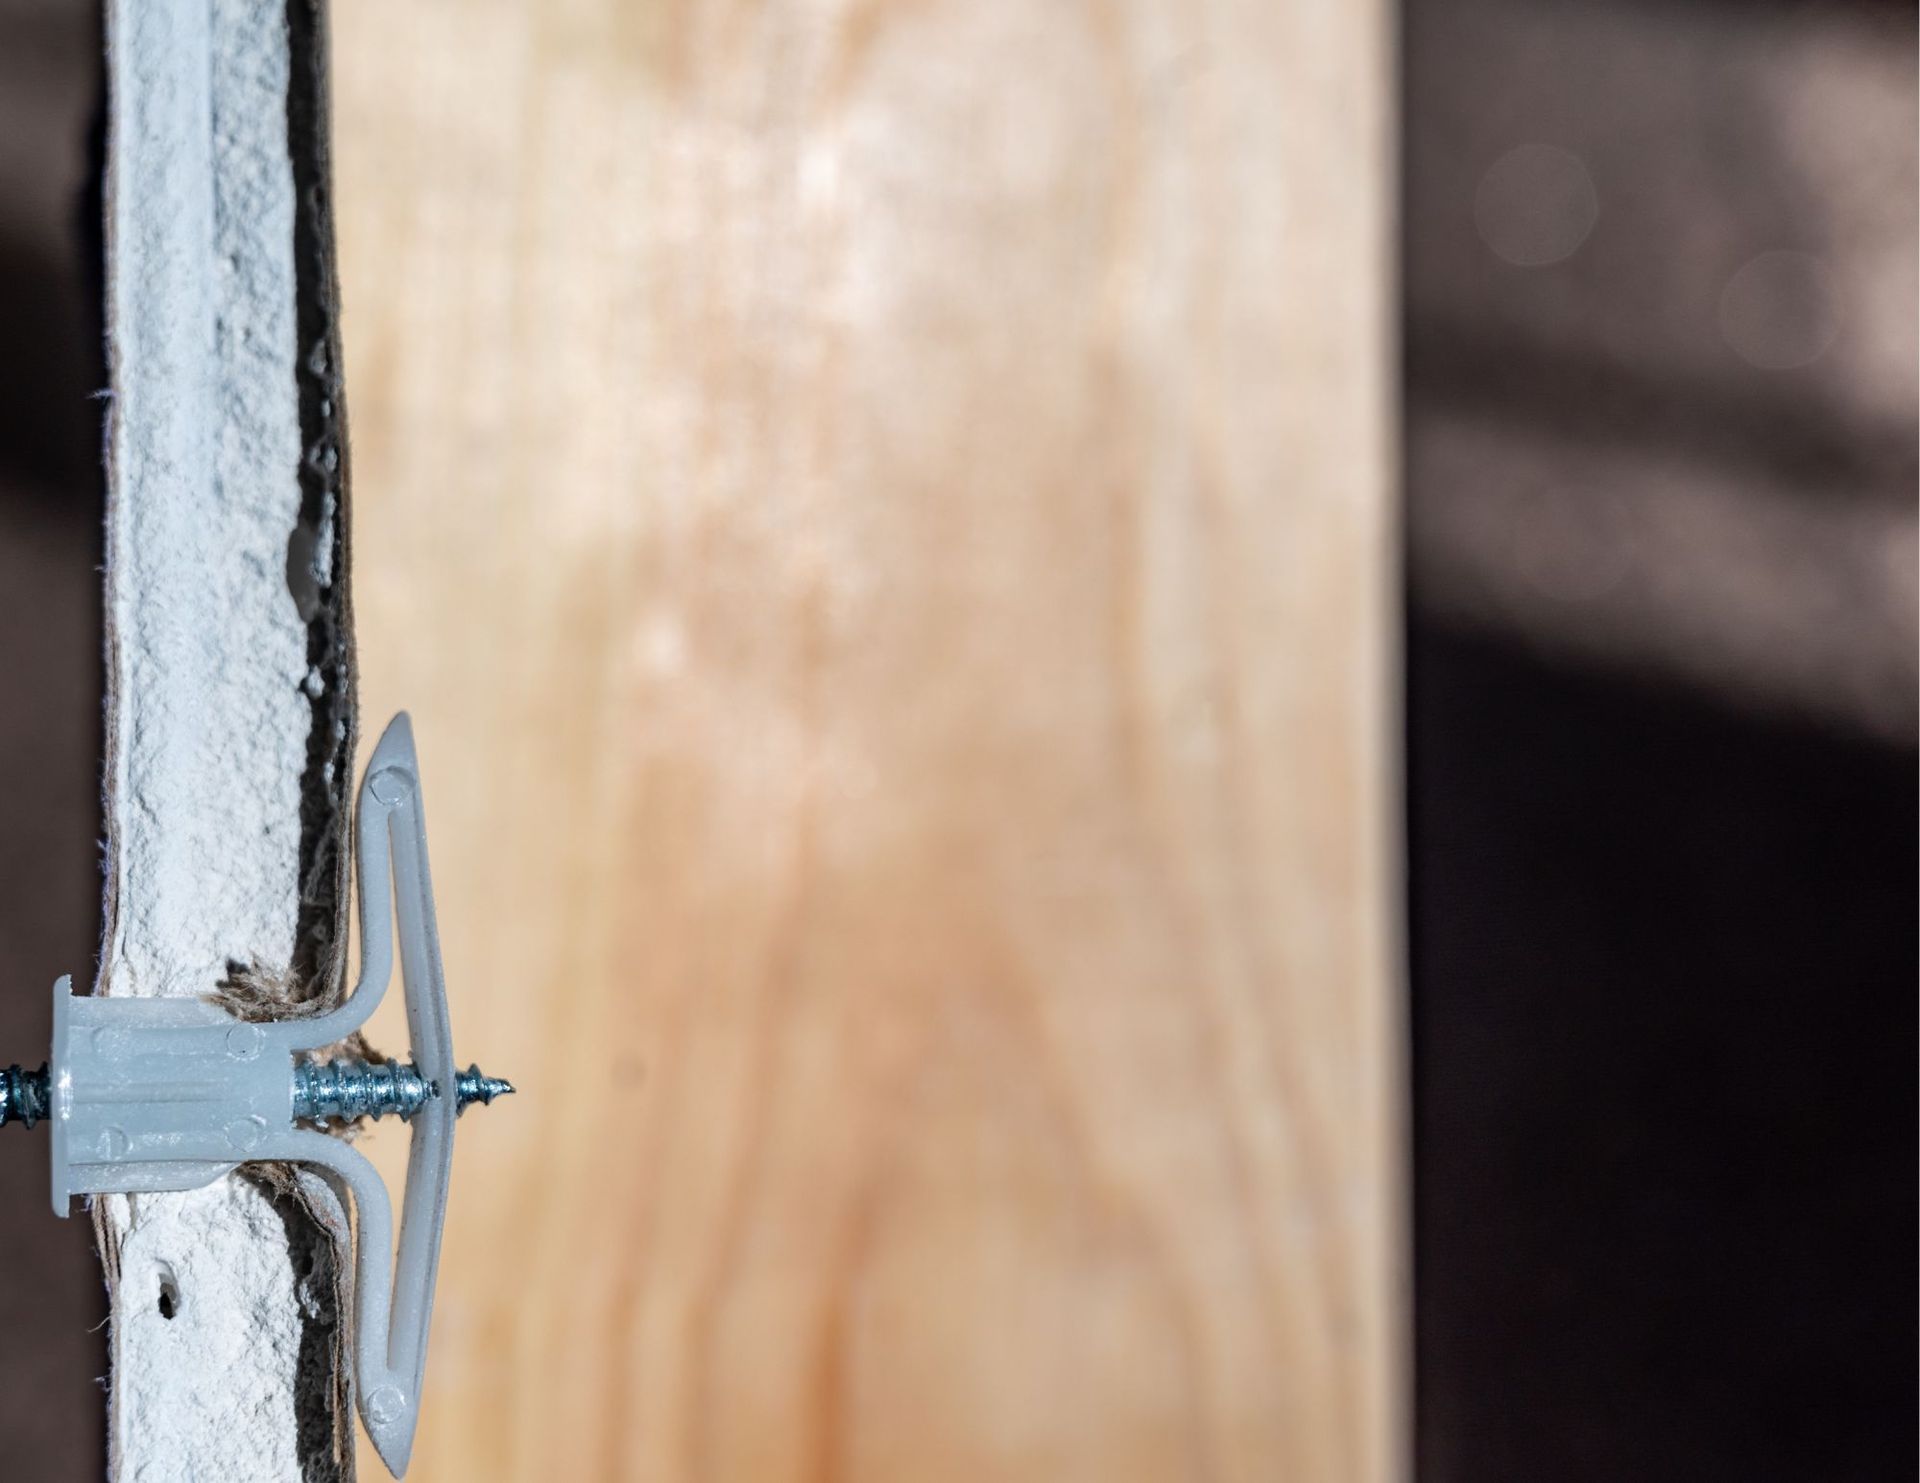
Step 5: Insert the Anchor
For plastic anchors, simply insert them into the pilot hole until they're flush with the wall. For toggle bolts or other expanding anchors, follow these steps:
1. If the anchor has a separate screw, partially screw it into the anchor.
2. Insert the anchor into the pilot hole.
3. If required, gently tap the anchor with a hammer until it's flush with the wall.
4. If using a separate screw, tighten it to expand the anchor behind the drywall, securing it in place.
Step 6: Attach Your Fixture
Now that your anchor is securely in place, it's time to attach your fixture. Whether it's a shelf bracket, picture hook, or curtain rod, use the appropriate screws to secure it to the anchor.
Step 7: Test and Adjust
Give your fixture a little tug to make sure it's securely attached to the anchor. If everything feels stable, congratulations – you've successfully installed a drywall anchor!
Step 8: Removing Anchors
If you ever need to remove a drywall anchor, simply unscrew the fixture, leaving the anchor in place. For expansion anchors, you might need to unscrew the anchor itself before filling the hole with spackle.
In Conclusion: Anchoring Confidence
Installing drywall anchors might seem like a small task, but it's an essential skill for anyone looking to hang items securely on their walls. With the right tools, the right anchors, and a bit of patience, you'll be able to confidently tackle various hanging projects, transforming your space while keeping your decor safely anchored.
Looking for
Ottawa Drywall Contractors? Give us a call and get a free quote!
You might also like