Blog Layout

Why Hire a Professional Drywall Repair Contractor?

April 25, 2023

Top Reasons to Hire a Professional Drywall Repair Contractor


Drywall damage is a common issue that many homeowners face through every day wear and tear or when you're looking to do small renos around the house. A lot of people will think that they can take on drywall repair jobs themselves, and of course, some people are more than capable. However, there are a lot of cases where a homeowner would be better off hiring a professional to do the job perfectly. Below are a few of the reasons why hiring a professional may be a better idea.


Expertise and Experience


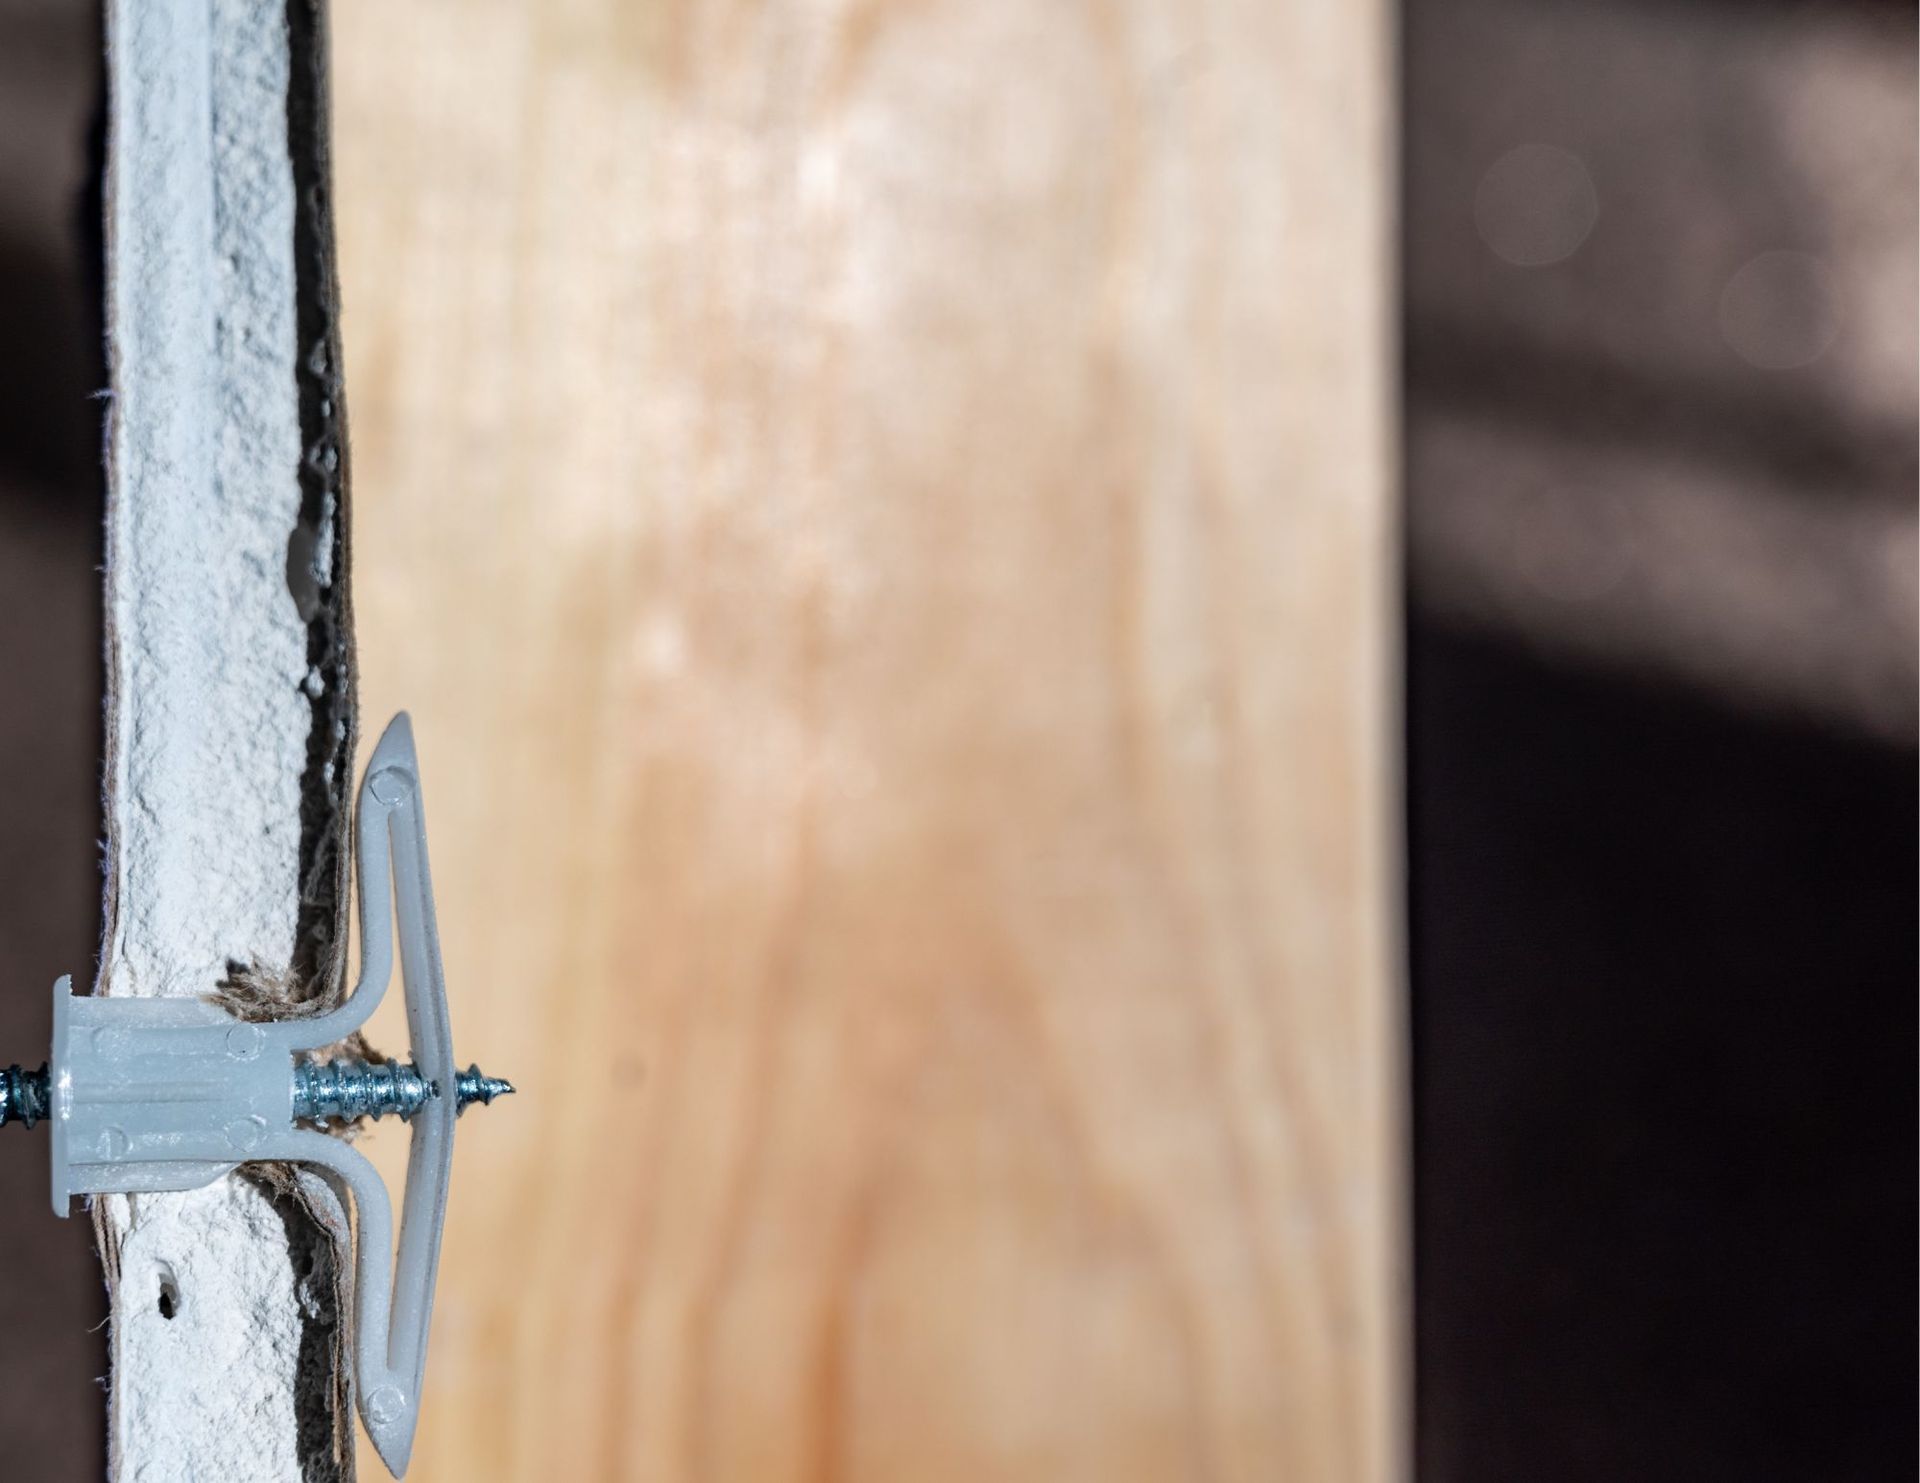
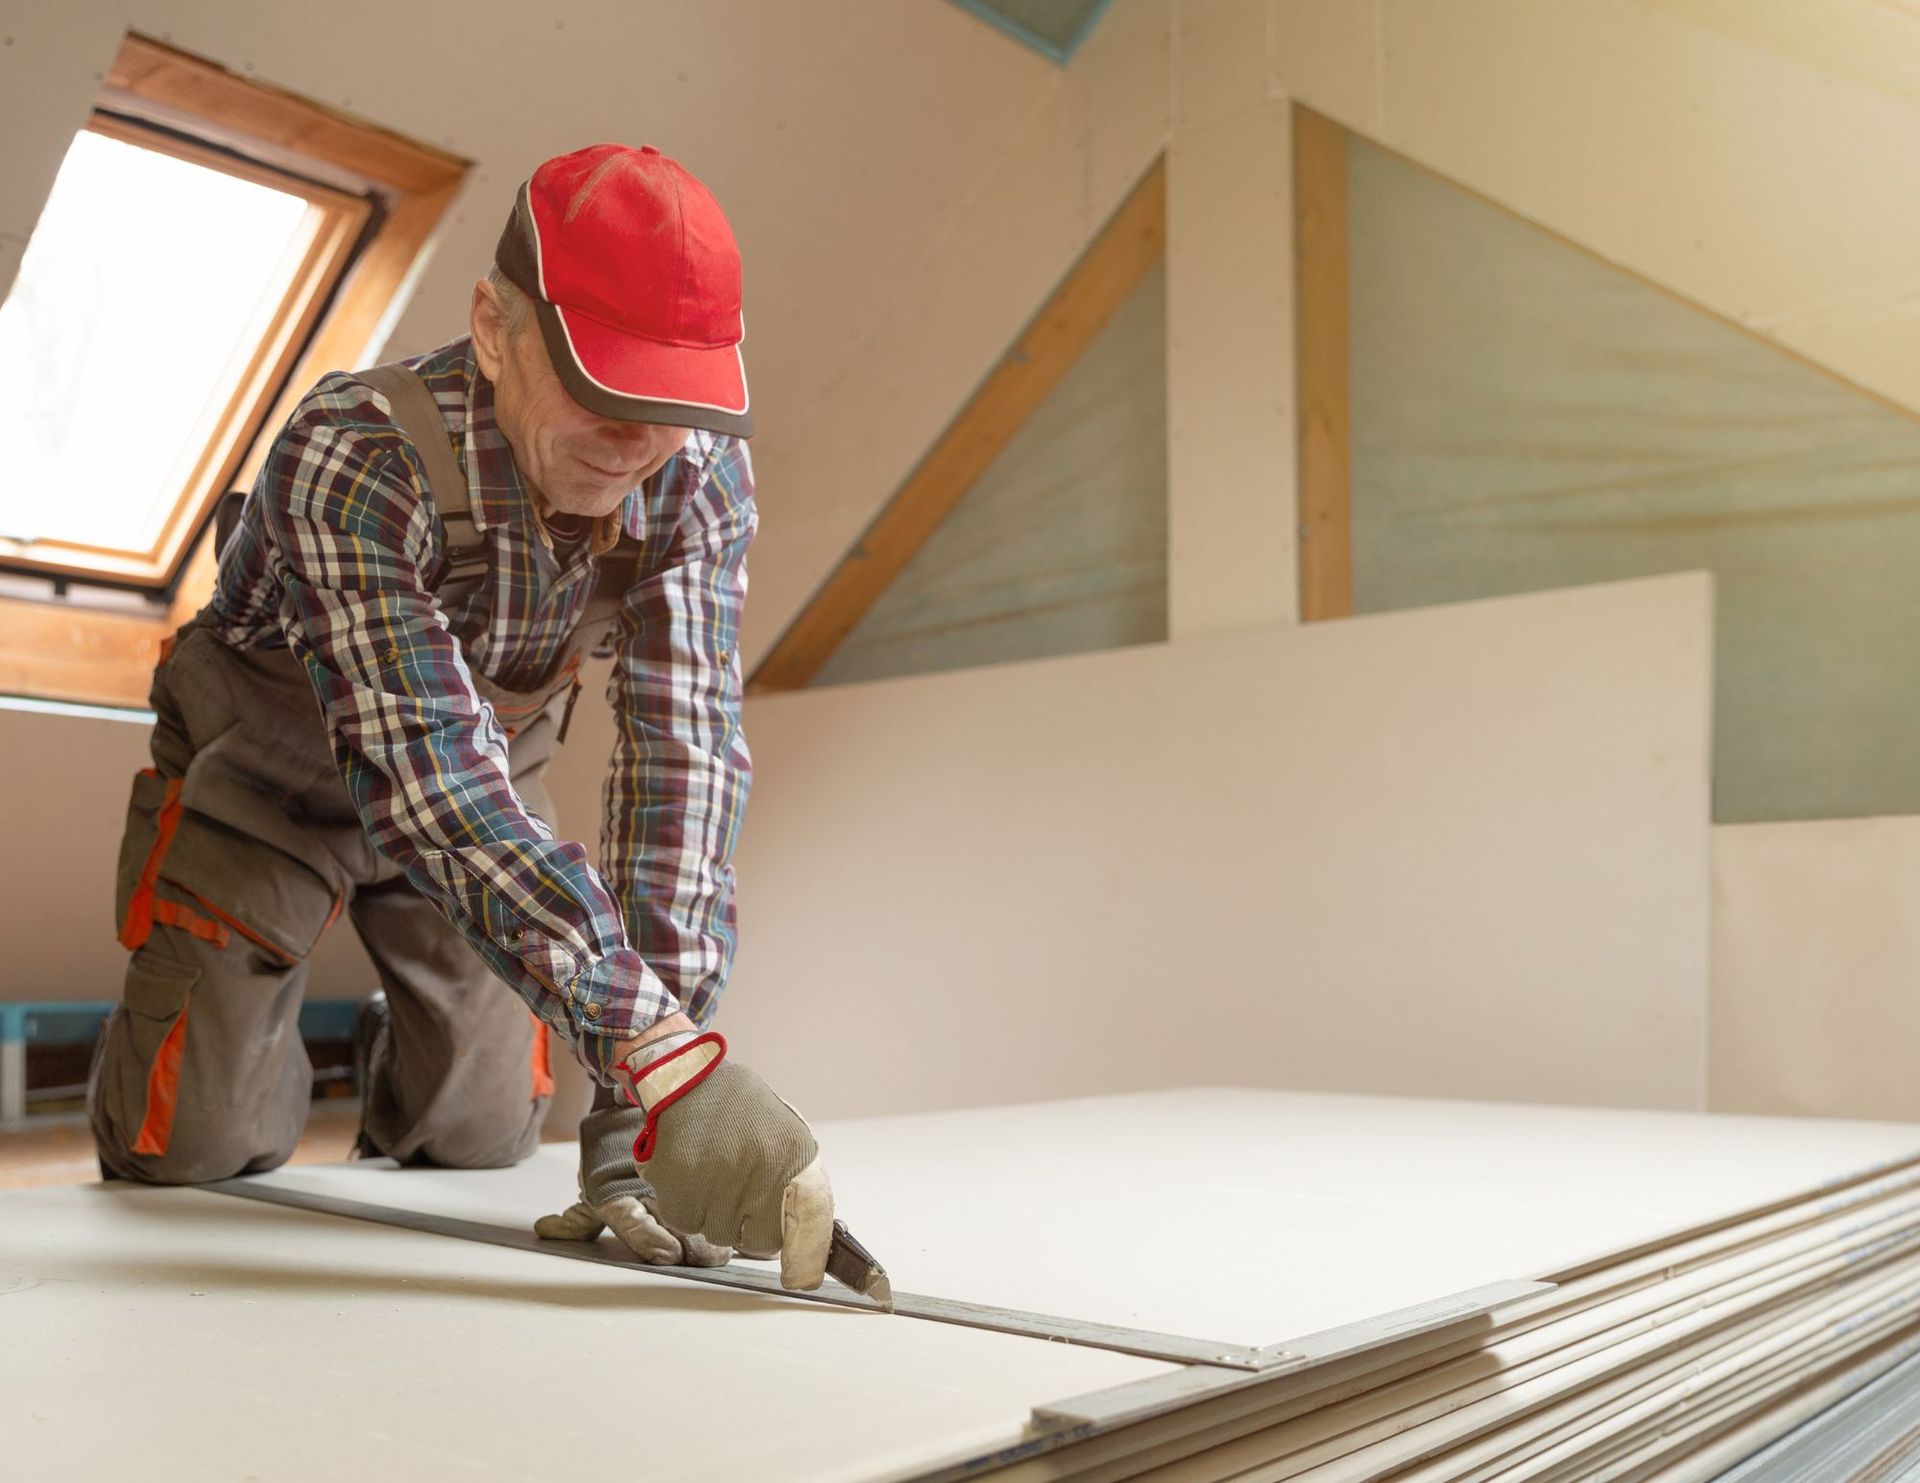
Drywall repair requires skill and experience to achieve a smooth and seamless finish. Professional drywall repair contractors have the expertise and knowledge to assess the extent of the damage, determine the appropriate repair techniques, and use the right materials for the job. Each job is different and it takes a keen eye that only comes from experience to understand the best course of action for any given situation.


Time and Cost Savings


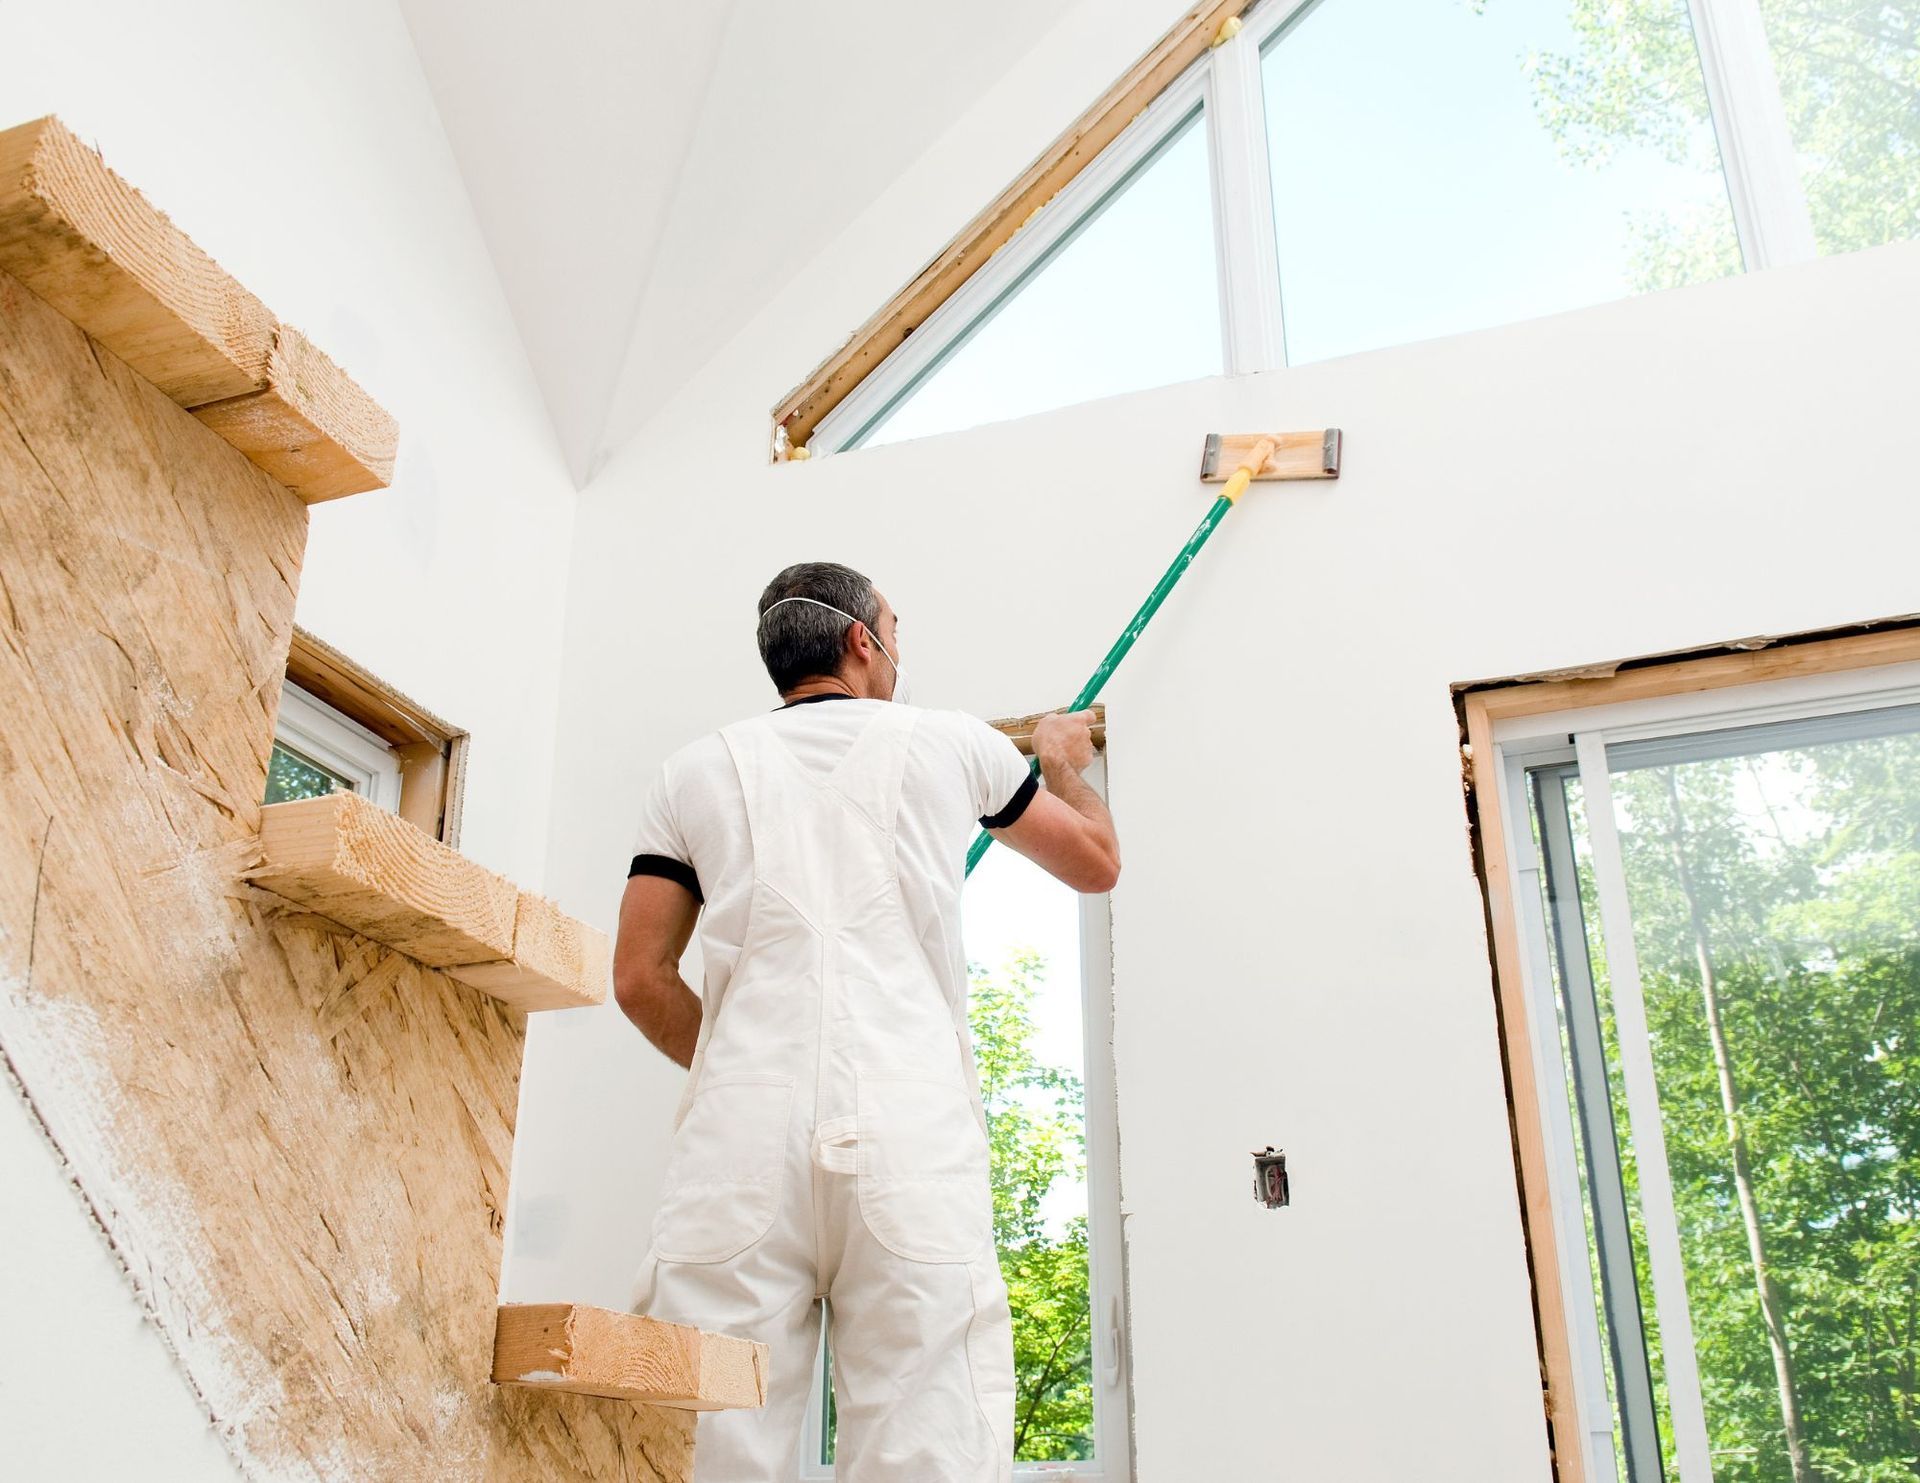
While DIY repairs may seem cost-effective at first glance, they can quickly add up in terms of time and expenses. Drywall repair requires precise measurements, cutting, patching, sanding, and finishing, which can be time-consuming and labor-intensive. A professional drywall repair contractor has the tools, equipment, and expertise to complete the job efficiently and effectively, saving you valuable time and effort.


Quality and Durability


Unless you've done this before, hiring a drywall contractor will likely result in a much better finishing product. Professionals know what they're doing after years of seeing different angles and types of repair jobs of all sizes. They use high-quality materials and tools that are designed for drywall repairs, resulting in a finish that is not only visually appealing but also durable and long-lasting. Getting the job done right and perfectly the first time will make sure the craftsmanship will last for a much longer time.


Safety and Health


Drywall repairs can involve dust, debris, and potentially harmful substances, such as mold or asbestos. Professional drywall repair contractors are trained in safety protocols and have the necessary equipment, such as dust masks, goggles, and protective clothing, to protect themselves and your home during the repair process. They are also familiar with potential health hazards and know how to safely handle and dispose of materials that may contain harmful substances. Hiring an Ottawa drywall repair contractor ensures that the repair work is done safely, minimizing any risks to you and your family.


Expert Matching and Aesthetics


A professional drywall repair contractor can help ensure that the repaired area matches the existing walls seamlessly. They have the expertise to match the texture, finish, and paint colour of your walls, resulting in a visually appealing and cohesive look. DIY repairs can often result in uneven texture, mismatched paint colours, or visible patches, which can be an eyesore and decrease the value of your home. Hiring a professional ensures that the repaired area blends in seamlessly with the surrounding walls, maintaining the aesthetics and value of your home.


Insurance and Warranty


Hiring a professional drywall repair contractor may also come with the added benefit of insurance and warranty. As long as you're hiring a contractor that has insurance and can offer a warranty. Doing so can help save you headaches down the road.

You might also like

December 5, 2023
Drywall anchors, while essential for securely mounting objects, can become a nuisance when they need removal. Whether you're redesigning your space or altering wall fixtures, understanding how to remove drywall anchors efficiently without causing damage is crucial. In this comprehensive guide, we'll delve into several tried-and-tested methods to help you successfully remove drywall anchors with ease.  Gather the Necessary Tools Before you begin, assemble the following tools: Pliers: Needle-nose or regular pliers will be useful for most removal methods. Screwdriver or Drill: Depending on the type of anchor, you may need a screwdriver or drill. Utility Knife: Helpful for cutting and exposing certain types of anchors. Putty Knife: Used to patch holes after anchor removal. Different Methods for Removing Drywall Anchors 1. Screw Removal Method: For Plastic Ribbed Anchors: Loosen the Screw: If the anchor has a visible screw head, use a screwdriver to unscrew it until it's flush with the anchor. Grip and Pull: Using pliers, grip the screw head and gently pull it out. The anchor should slide out with the screw. For Winged Plastic Anchors: Remove the Screw: Unscrew the fastener until it's flush with the wall. Pull Out the Anchor: Use pliers to grip and carefully wiggle the wings of the anchor while pulling outward. Apply gradual pressure to avoid damaging the drywall. 2. Toggle Bolt Removal: Unscrewing Method: Toggle bolts often have a screw visible on the front. Unscrew it completely until the toggle falls behind the wall. Then, remove the bolt and pull the toggle out gently using pliers. 3. Push or Hammer-In Anchors: Prying Method: Use a putty knife or flathead screwdriver to gently pry the anchor away from the wall. Apply steady pressure to prevent damage. 4. Expansion Anchors: Drilling Method: If the anchor doesn’t have a visible screw, carefully drill into the center of the anchor using a drill with a bit slightly smaller than the anchor size. Drill until the head breaks off, allowing the anchor to fall into the wall cavity. Tips for Removing Drywall Anchors Safely Apply Gradual Pressure: Avoid using excessive force as it might damage the drywall. Repair Holes: After removing the anchor, patch the hole with spackling compound using a putty knife and sand it down for a smooth finish. Identify Anchor Type: Different types of anchors require different removal methods. Assess the anchor type before attempting removal. Protective Gear: Use safety goggles to protect your eyes from debris during the removal process. Situational Considerations Large Anchor Removal: For larger or stubborn anchors, consider using a crowbar or claw hammer to gently pry them out. Exercise caution to avoid damaging the wall. Multiple Anchors in Close Proximity: If you're dealing with several anchors close together, take care to avoid damaging the surrounding drywall while removing them. Conclusion Removing drywall anchors doesn’t have to be a daunting task. By employing the appropriate tools and techniques, you can effectively remove anchors without causing unnecessary damage to your walls. Understanding the type of anchor you're dealing with and utilizing the suitable removal method are key to successful extraction. Remember to work patiently and gradually, applying just enough force to remove the anchor without harming the drywall. Once the anchors are removed, patching the holes properly ensures a seamless finish, ready for a fresh coat of paint or new wall fixtures. By following these step-by-step removal methods and considering the situational tips provided, you can confidently tackle the task of removing drywall anchors, allowing you to modify or redesign your space hassle-free. If you're looking for an expert Ottawa drywall contractor, give us a call today for a free quote.
December 5, 2023
This is a subtitle for your new post
December 5, 2023
Looking to do your own drywall work? Here's how to cut drywall properly
More Posts

Book a Service Today

Share by: