Blog Layout

Does Drywall Need To Bed Screwed Into Every Stud?

July 7, 2023

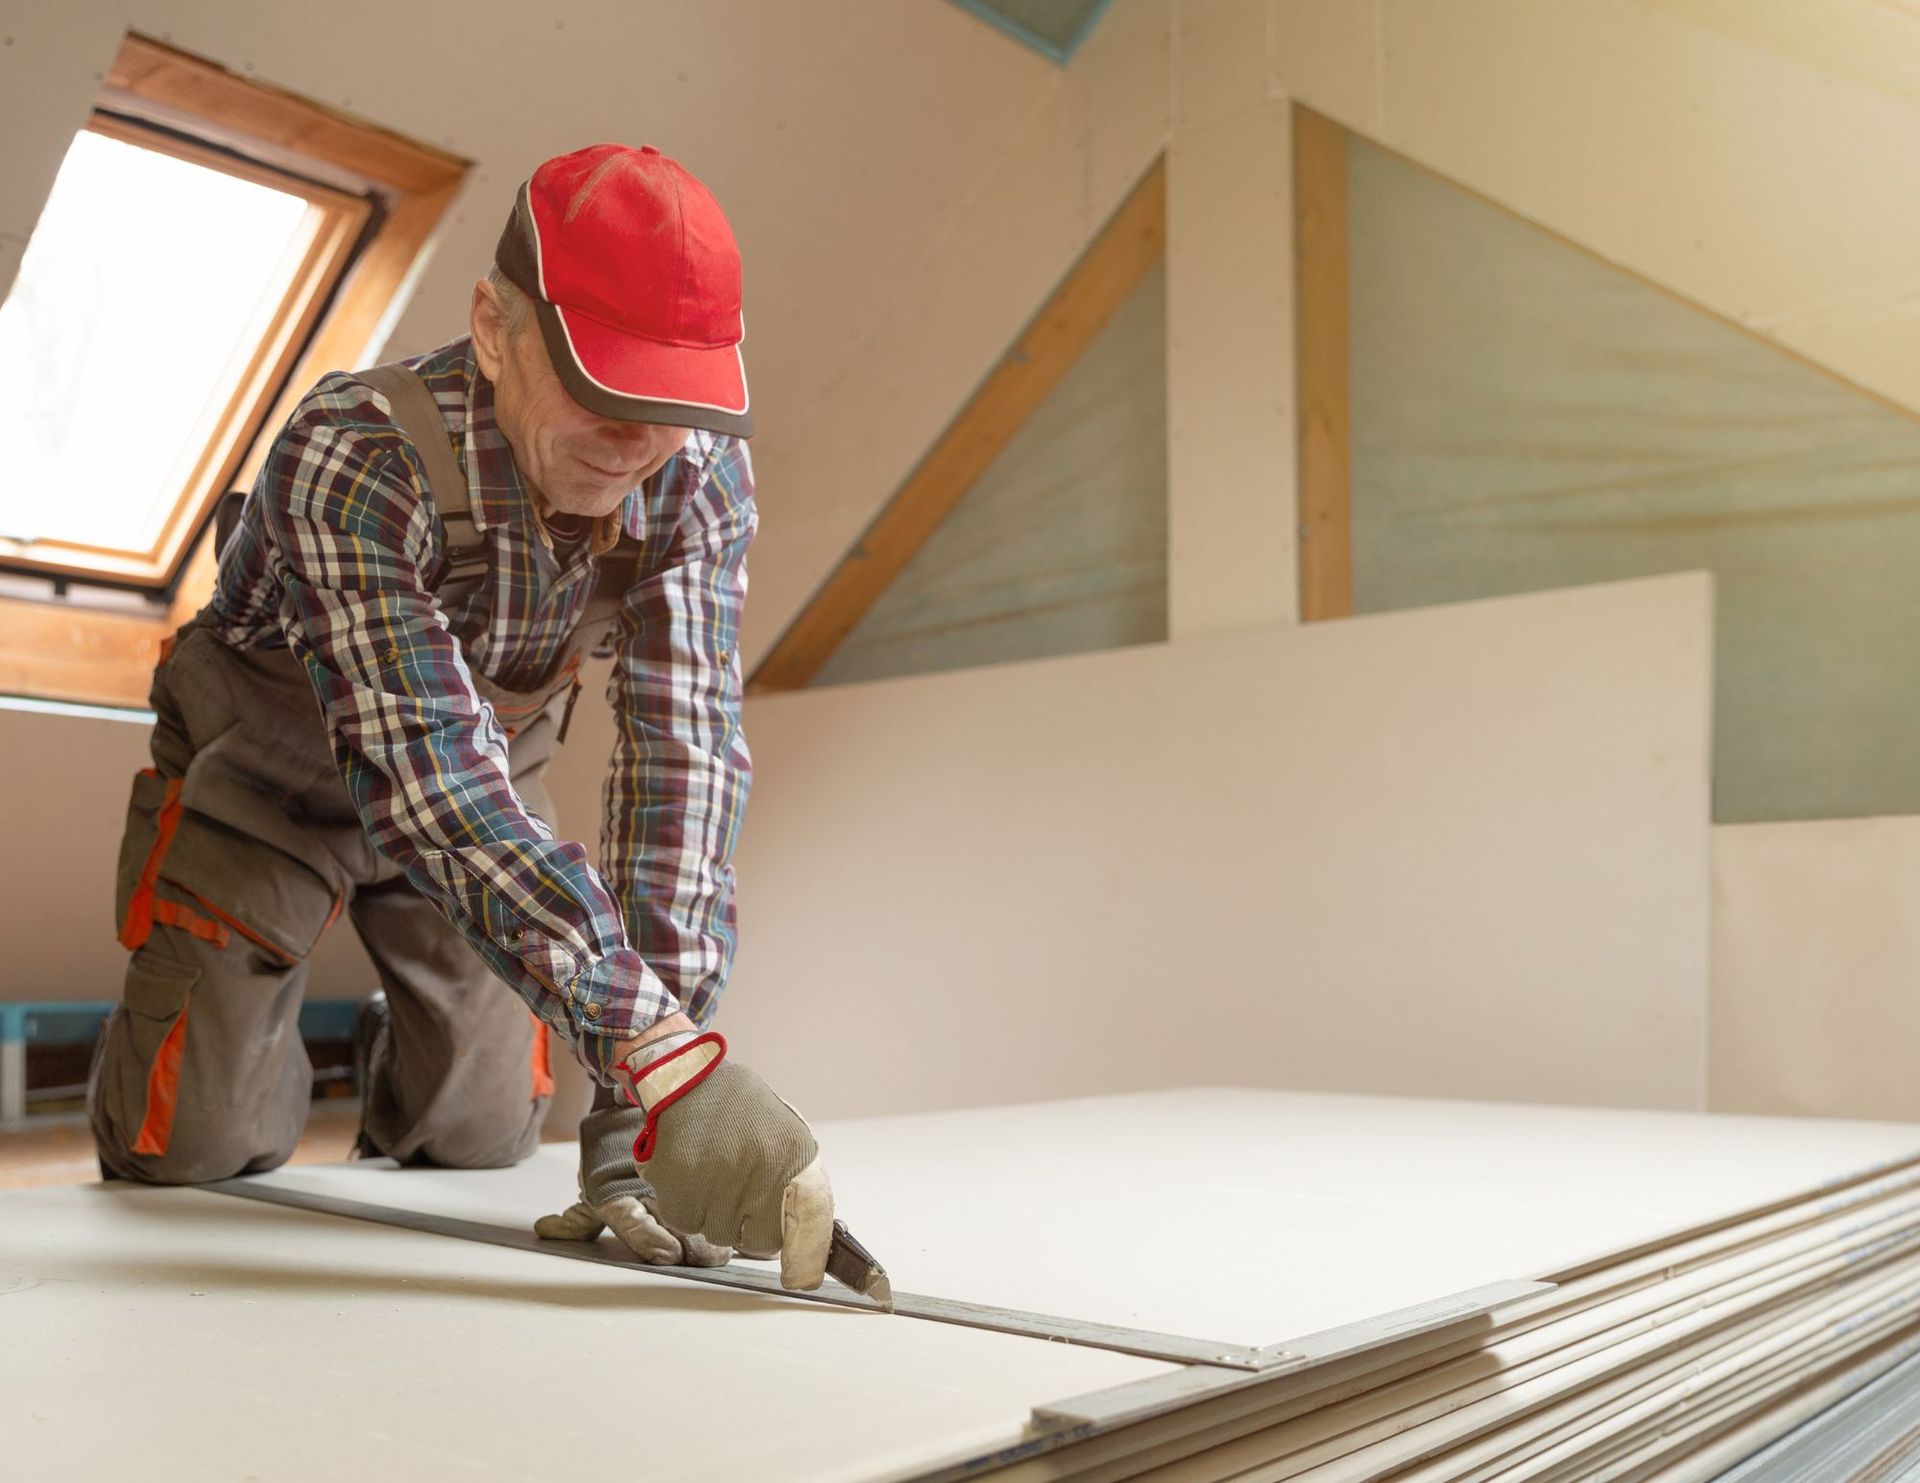
Some Specifics About Drywall Installation

When it comes to installing drywall in Ottawa, one of the age-old questions that homeowners and contractors often face is whether or not every stud needs to be screwed into. Some argue that skipping studs saves time and materials, while others believe that proper fastening is crucial for long-term durability.


The Argument for Screwing into Every Stud


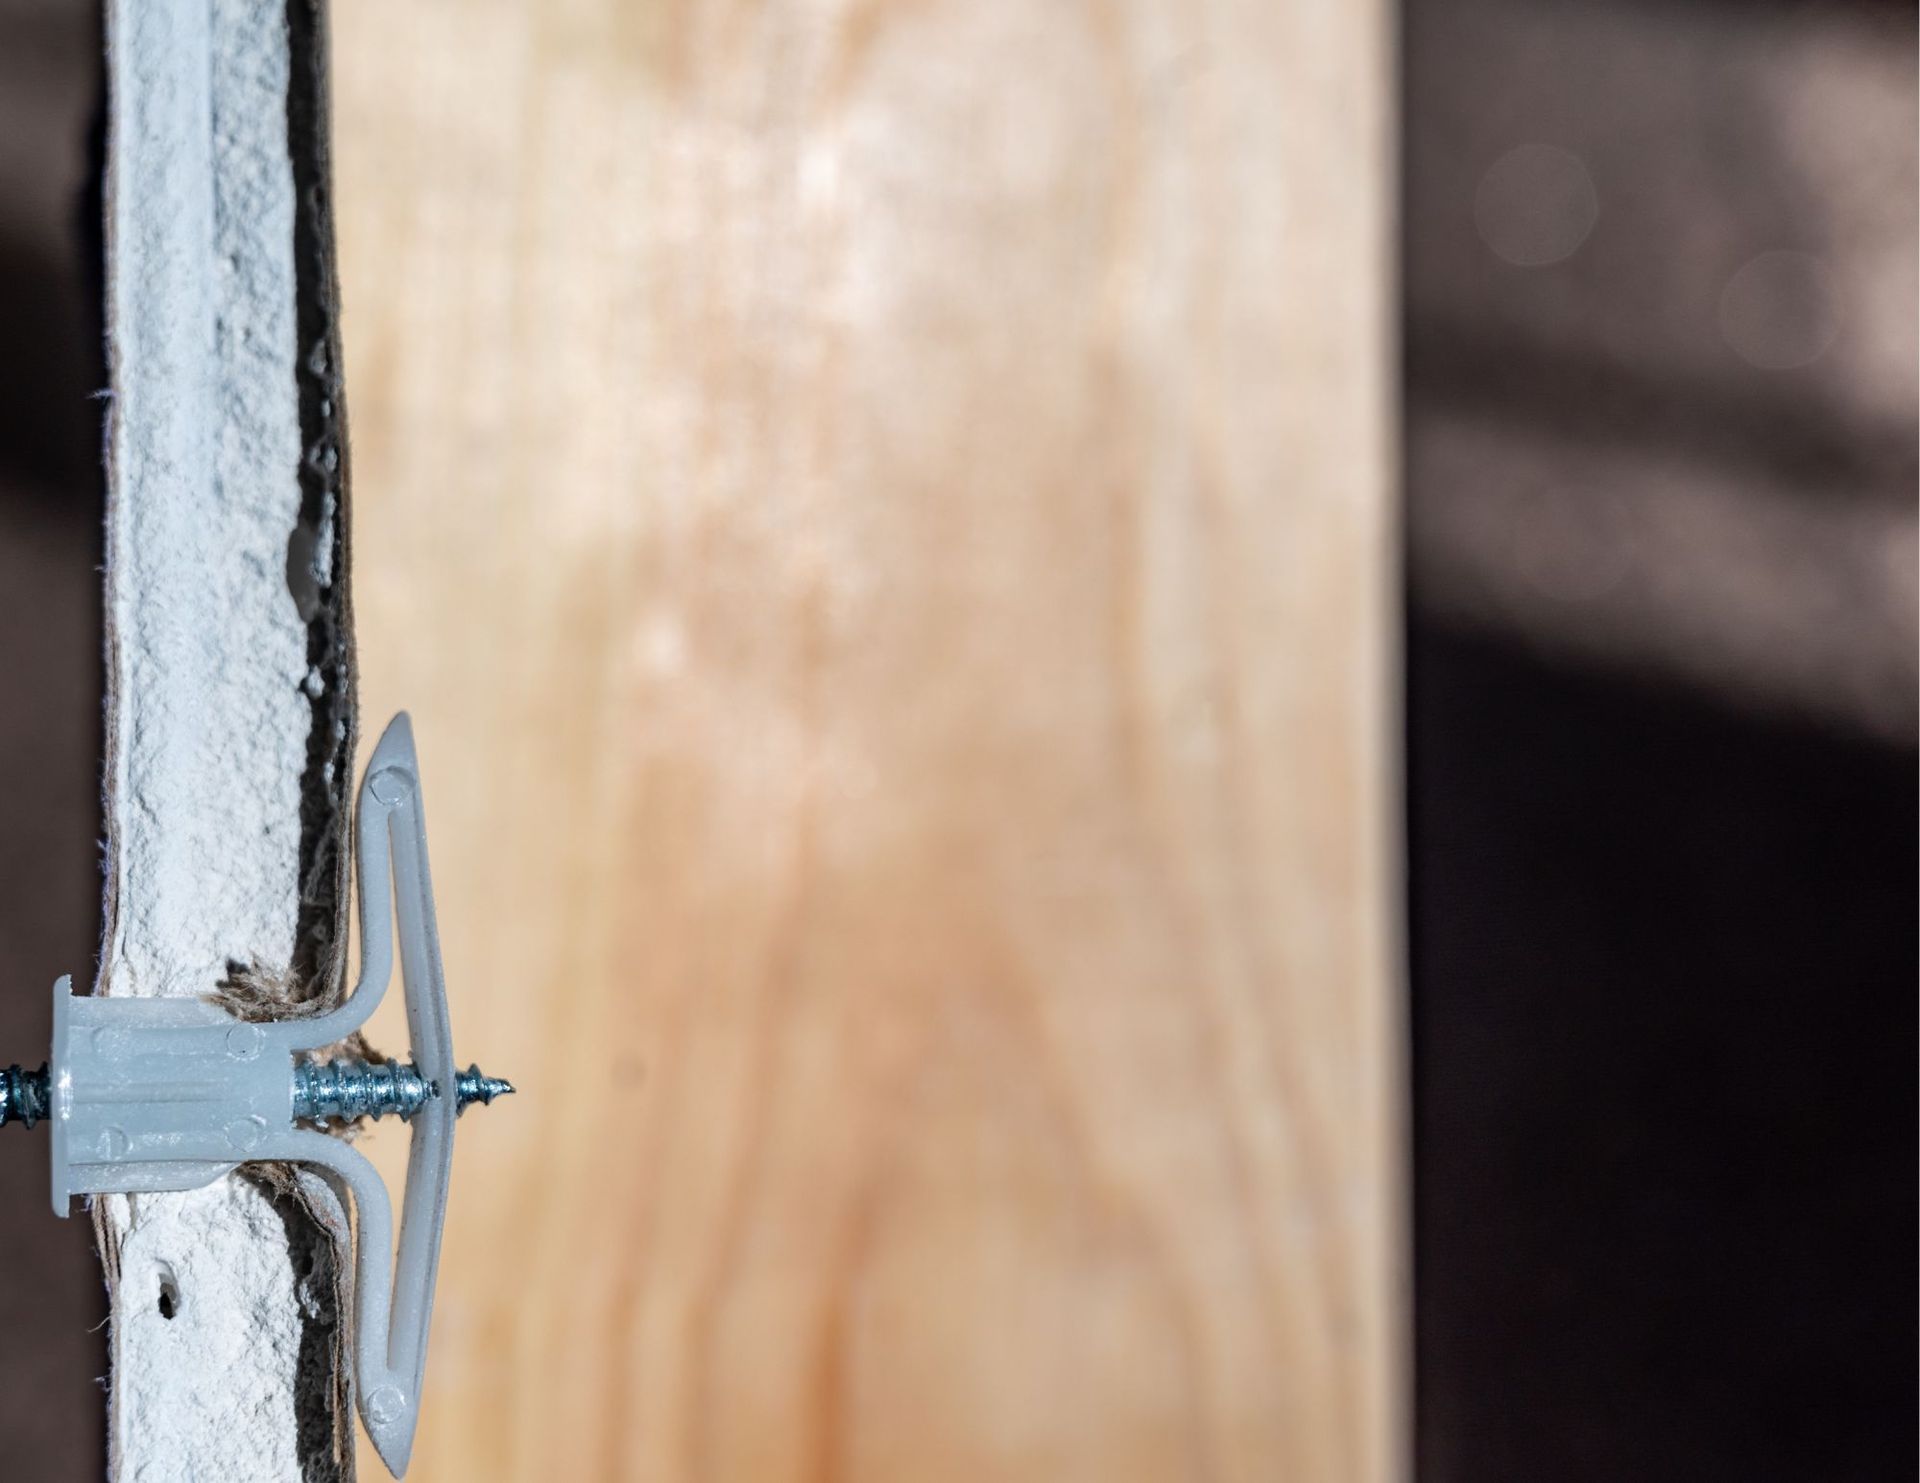
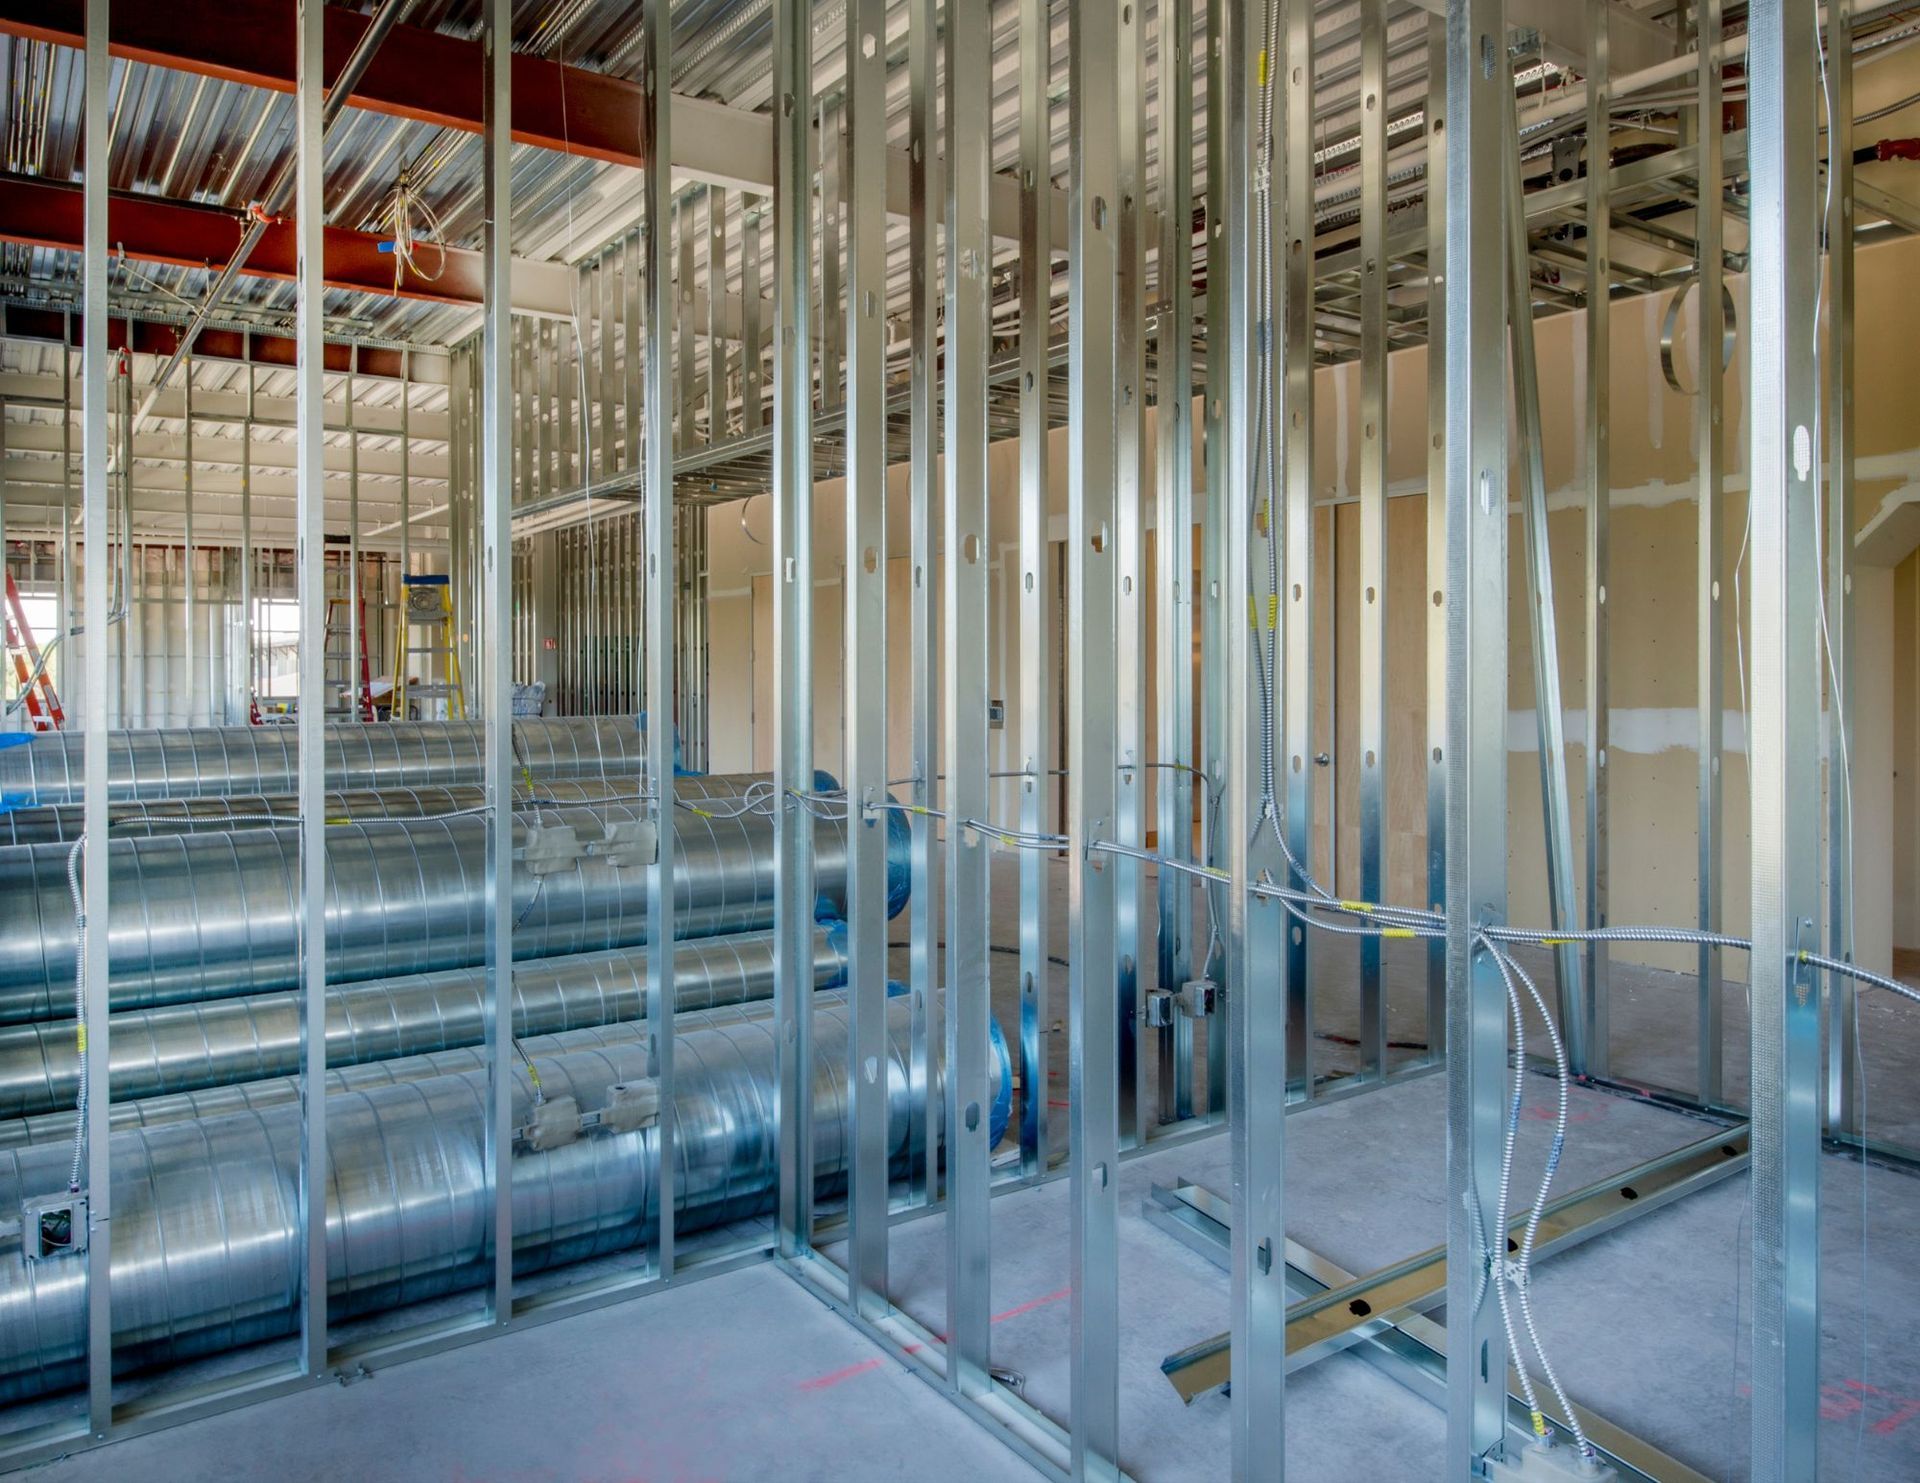
Advocates of screwing into every stud argue that it provides optimal support for the drywall. Drywall sheets are heavy, and screwing into every stud ensures a more secure attachment, minimizing the risk of sagging or cracking over time. This approach also distributes the weight evenly across the wall, reducing the likelihood of noticeable bulges or uneven surfaces. Additionally, by adhering strictly to stud placement, there is less chance of inadvertently hitting electrical wires or plumbing behind the walls.


The Argument for Skipping Studs


On the other side of the debate, proponents of skipping studs contend that it can be an efficient and cost-effective approach. They argue that modern drywall, especially when combined with adhesive, is strong enough to span across two or even three studs without compromising its structural integrity. Skipping studs can save time during the installation process and reduce the number of screws and materials required. Moreover, with advancements in drywall technology, such as lightweight boards, the need for extensive stud attachment may be diminished.


Best Practices for Drywall Installation


While there are valid arguments on both sides, it is crucial to consider the specific circumstances and context when deciding how to attach drywall. Here are some best practices to guide your installation process:


a. Consider the intended use: If the wall is in a high-traffic area or subject to potential impact, it is advisable to screw into every stud for added durability.


b. Follow building codes: Always adhere to local building codes and regulations, as they may specify the required stud attachment methods.


c. Evaluate wall conditions: Examine the condition of the studs, as well as any existing damage or irregularities in the wall. Address any structural issues before proceeding with drywall installation.


d. Seek professional advice: If you are unsure about the best approach for your specific project, consult with a professional contractor or experienced builder who can provide expert guidance.


Conclusion


While there are differing opinions on whether drywall needs to be screwed into every stud, it ultimately depends on various factors, such as the intended use, building codes, and wall conditions. Striking the right balance between efficiency and durability is crucial. By considering these factors and following best practices, you can make informed decisions during your drywall installation, ensuring a sturdy and visually appealing finished product.


You might also like

December 5, 2023
Drywall anchors, while essential for securely mounting objects, can become a nuisance when they need removal. Whether you're redesigning your space or altering wall fixtures, understanding how to remove drywall anchors efficiently without causing damage is crucial. In this comprehensive guide, we'll delve into several tried-and-tested methods to help you successfully remove drywall anchors with ease.  Gather the Necessary Tools Before you begin, assemble the following tools: Pliers: Needle-nose or regular pliers will be useful for most removal methods. Screwdriver or Drill: Depending on the type of anchor, you may need a screwdriver or drill. Utility Knife: Helpful for cutting and exposing certain types of anchors. Putty Knife: Used to patch holes after anchor removal. Different Methods for Removing Drywall Anchors 1. Screw Removal Method: For Plastic Ribbed Anchors: Loosen the Screw: If the anchor has a visible screw head, use a screwdriver to unscrew it until it's flush with the anchor. Grip and Pull: Using pliers, grip the screw head and gently pull it out. The anchor should slide out with the screw. For Winged Plastic Anchors: Remove the Screw: Unscrew the fastener until it's flush with the wall. Pull Out the Anchor: Use pliers to grip and carefully wiggle the wings of the anchor while pulling outward. Apply gradual pressure to avoid damaging the drywall. 2. Toggle Bolt Removal: Unscrewing Method: Toggle bolts often have a screw visible on the front. Unscrew it completely until the toggle falls behind the wall. Then, remove the bolt and pull the toggle out gently using pliers. 3. Push or Hammer-In Anchors: Prying Method: Use a putty knife or flathead screwdriver to gently pry the anchor away from the wall. Apply steady pressure to prevent damage. 4. Expansion Anchors: Drilling Method: If the anchor doesn’t have a visible screw, carefully drill into the center of the anchor using a drill with a bit slightly smaller than the anchor size. Drill until the head breaks off, allowing the anchor to fall into the wall cavity. Tips for Removing Drywall Anchors Safely Apply Gradual Pressure: Avoid using excessive force as it might damage the drywall. Repair Holes: After removing the anchor, patch the hole with spackling compound using a putty knife and sand it down for a smooth finish. Identify Anchor Type: Different types of anchors require different removal methods. Assess the anchor type before attempting removal. Protective Gear: Use safety goggles to protect your eyes from debris during the removal process. Situational Considerations Large Anchor Removal: For larger or stubborn anchors, consider using a crowbar or claw hammer to gently pry them out. Exercise caution to avoid damaging the wall. Multiple Anchors in Close Proximity: If you're dealing with several anchors close together, take care to avoid damaging the surrounding drywall while removing them. Conclusion Removing drywall anchors doesn’t have to be a daunting task. By employing the appropriate tools and techniques, you can effectively remove anchors without causing unnecessary damage to your walls. Understanding the type of anchor you're dealing with and utilizing the suitable removal method are key to successful extraction. Remember to work patiently and gradually, applying just enough force to remove the anchor without harming the drywall. Once the anchors are removed, patching the holes properly ensures a seamless finish, ready for a fresh coat of paint or new wall fixtures. By following these step-by-step removal methods and considering the situational tips provided, you can confidently tackle the task of removing drywall anchors, allowing you to modify or redesign your space hassle-free. If you're looking for an expert Ottawa drywall contractor, give us a call today for a free quote.
December 5, 2023
This is a subtitle for your new post
December 5, 2023
Looking to do your own drywall work? Here's how to cut drywall properly
More Posts

Book a Service Today

Share by: